Monday 18 April 2011

Grafting away.

Hello.

It’s been a busy few days in the cottage!

Thursday afternoon I left work early and went to womersleys to pick up lime and sand and prependuit for the spare room.

Traffic was ridiculous, so turned a 20 min journey in to an hour.

[insert rant here]

Thursday night I continued with the plasterboarding, nearly getting it finished.

Friday I took off work to get a bit of momentum on the house as Saturday was free too. I started at 8am putting hessian up outside the front of the house ready to do the slurry coat on Saturday. After that job, I finished the plasterboarding, then put a coat of prependuit on the plasterboard. This is a bonding coat to allow lime putty to be used on plasterboard.

Following that, I got a top coat on to one of the bedroom walls. Grand. A good days work, finishing up for a home cooked meal from Hannah at about 10pm I think. I realised during the afternoon that I might get as far as putting lime putty on the ceiling over the weekend, which would be great, but I didn’t have any, so Hannah travelled the well worn road to womersleys for me.

Saturday morning I got a good start again, getting a mix on at 8am for the slurry coat. I don’t much enjoy putting on stipple or slurry coats, so it was nice that both the weather was good and Hannah helped out. Brill. It took until midday to get it done and cleared up. I’ve learnt it’s worth trying to clean things up as you go with plaster rather than leaving it all to the end when it’s dried hard as nails!

So with the slurry coat on, we’re ready for putting on the new top coat on Easter Monday. I’ve got a friend helping out and Hannah too so I’m hopeful of getting it all done in the one day. I hope.

After the bacon and bagels cooked up for lunch I got going putting on the top coat on the rest of the bedroom. I under estimated the time to do this drastically, but really wanted to get it done in the one day. After clear up I clocked off at about 10:30pm. Another good day of graft.

Late Sunday afternoon I started to put the top coat of lime putty on the ceiling. Again, it quickly became evident that the 2 hours I had guessed was going to be longer, so enlisted Hannah to get grubby and help me finish off. It took the hour count down a little but it still took 4 hours. However, that is a momentous point in our project as that is the last coat of plaster to be applied internally.

Although there are and always will be a gazillion of finishing off jobs to do, it’s starting to dawn on us that we’ve nearly finished the bulk of the project – quite strange after nearly 4 years, the last 2 of which have been quite intense!

SO the plastering is don in the bedroom. Cosmetic work will begin now. We need to wait a couple of days and then we will start lime washing the bedroom, this will be done on Tuesday, Wednesday and Thursday. Friday I hope to install the radiator and plumb it in and possibly make a start on the floor. Saturday and Sunday is taken up with a wedding and church stuff, then the Monday is doing top coat outside.

Still a bit of a way to go, but definitely getting there now!

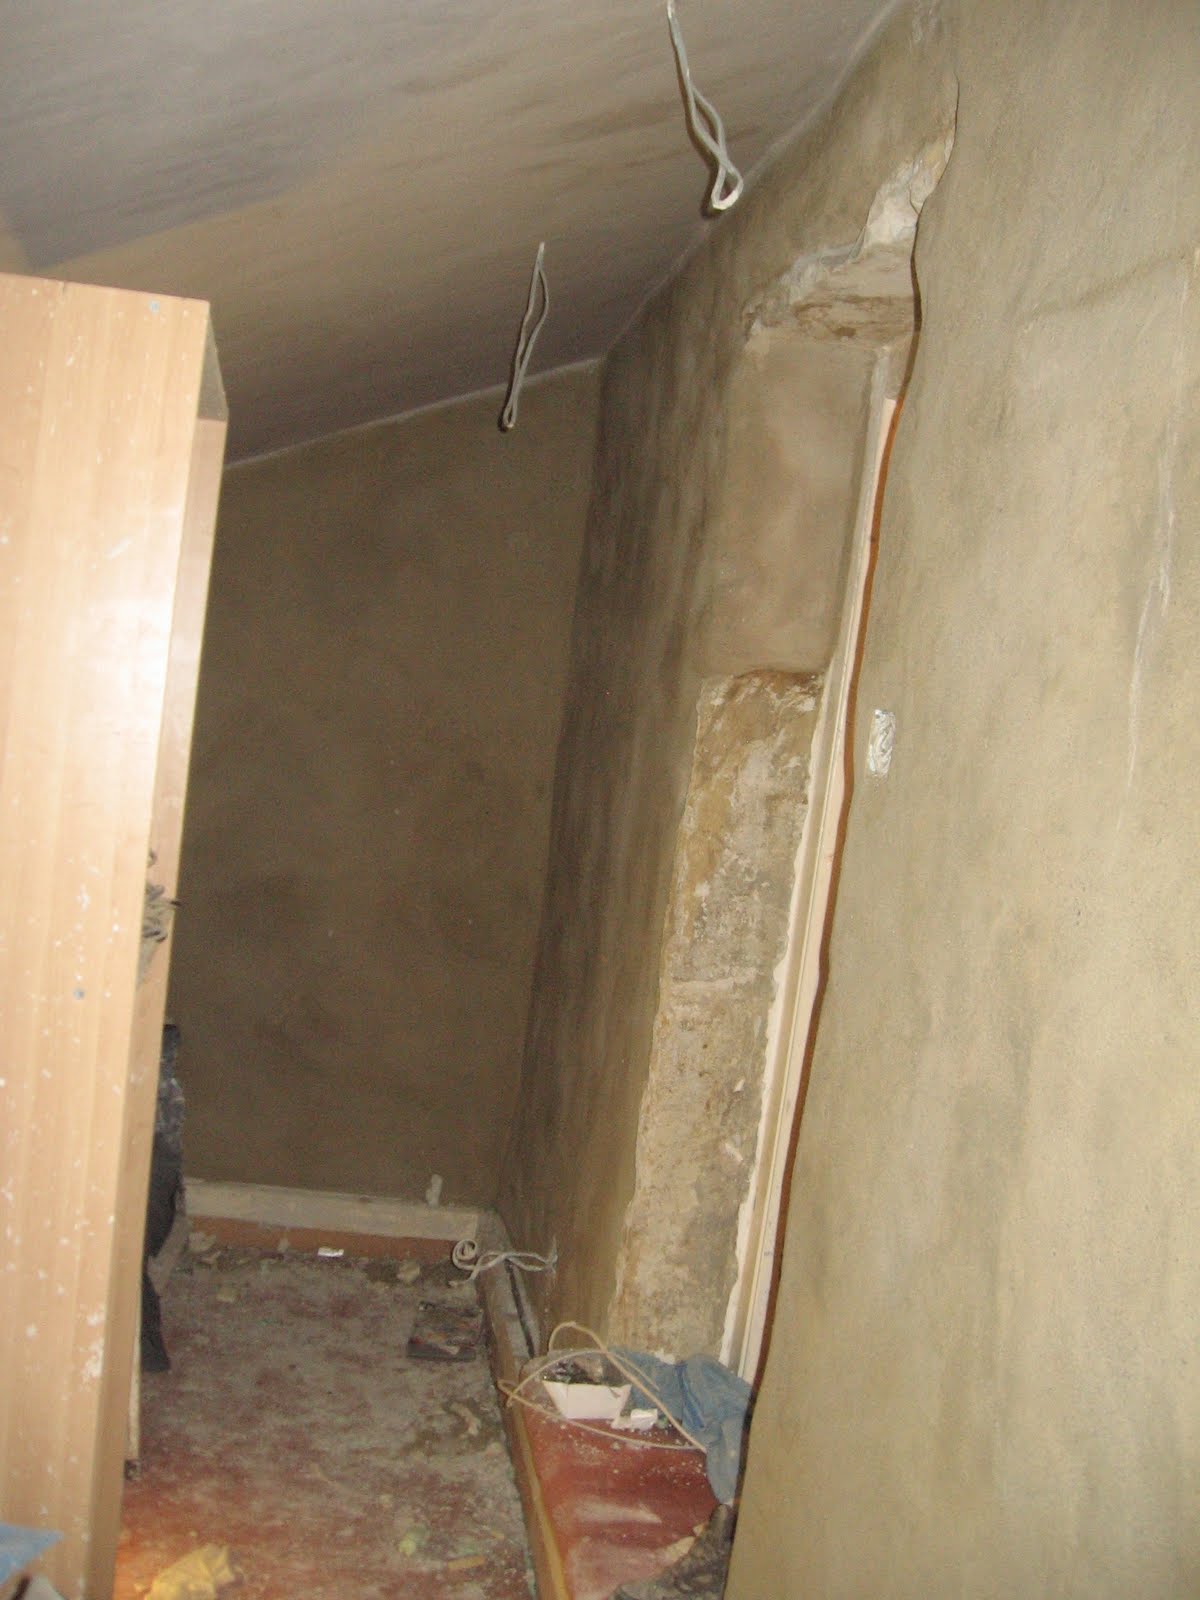
Here are some photos of the finished plaster work…

Until next time, stay classy.


Thursday 14 April 2011

Ticking over

Hello,

Quite a lot has been going on since we last spoke.

Where to begin….

Phil, our electrician chum came round and did first fix on the Friday after the last post.

Plans for the electrics.

He did a grand job – nothing I couldn’t do to be honest, but that’s how it has to be done to keep legal. That sounds very ungrateful, but actually it was quite nice to go to work, and then come home and something has been done! Having done the whole house on our own it’s a treat when something is done for us with no effort on our part! So although we’ll pay for it, it is nice!

Light cables all in

Phil ran out of time to put the wall boxes on and the plastic coverings, so I did that on an evening ready to put stipple coat on.

Friday afternoon we went to ikea to try and suss out some furniture options. The pitched roof and large oak beam make it tricky! But then what do you expect??!!

Saturday the Wards landed bring a trailer, a mixer and scaffolding. All essentials and greatly appreciated. They also took us out for lunch. Fantastic.

Saturday evening we hit B&Q and bought floor boards for the spare room and on Sunday we picked up plaster board, getting our 15% discount on both purchases. It makes a difference! Oh, we also bought some lights too.

I did the stipple coat on the Monday afternoon. As stated everytime I do a stipple coat, I don’t enjoy it. But it has to be done and went ok.

The following day Andy the builder came to look at the window lintel. Turns out he’s a really nice guy. Very helpful and friendly and was up for doing the work. However, he was going to France in 2 weeks at the time of speaking so we had to get a wriggle on with sourcing some wood.

I got on the phone to Yorkshire oak frames and they came up with the goods. I can’t recommend them enough. £25 for a piece of green oak 3” x 5” x 2.2m. That is a cracking price. However, to get it in time we had to go over on Saturday morning before a wedding we had to go to. So we picked it up from York at 8am on Saturday. All good. Cheap cheap.

On the Thursday before collecting the beam I did the familiar trip to womersleys for materials for the 2nd coat of plaster, which I did on the Friday having taken a day off work. I got it done in the day, but forgot how long it takes and how many mixes are required! 15 mixes all haired with goats hair was what was required. To get the coverage. It takes about 30 minutes per mix so that’s 7.5 hours just to do the mixing. Now, I was plastering while it mixed but it’s clear to see that it just inherently takes a long time. So many mixes are required due to the thickness. This is the main coat in many respects where the walls are evened out a little! Just takes a long time.

Second coat done

Anyway, it was nice to get it done, and was the first major step to making the room look like it’s improving!

After much internet research we took the plunge with some insulation board for the ceiling. Expensive stuff, but due to the space available it was the only sensible option to get a warm room! 75mm Celotex GA4000 board. It’s nasty to cut and install but it’s all in now. 4 Sheets were required, plus delivery made it very expensive, but like I say, the only way to get close to a decent R rating.


Any gaps were filled with expanding foam. Does the trick.

We also took the plunge on a radiator. We wanted a vertical radiator as a space saving method, but that makes it expensive, and often lower power output. Hannah did some sums and calculated the output we needed, and we found a radiator which for it’s style was very cheap and matched the power rating. However, compared to a standard radiator it’s still extortionate. Hopefully the benefit to the room will be worth the extra £100+ it cost for a vertical radiator!

Radiator we chose. That's not our room though.

Hopefully, other than plaster costs, that is it for expensive outlays. The bills have quickly added up, that is for sure!!

I took Tuesday off work to work with Andy the builder in taking out the old lintel and putting the new one in. This was a cost cutting measure, but it was also enjoyable. The job couldn’t have gone any better. Props went up, cut out the old beam, knocked it about with a chisel, got it out, slotted the new one in, squared off the rafters, slotted beam back in, packed it out, screwed it in. Job done. Great. £90 well spent. It only took the morning too. Bonus.

This is all that is left of the lintel we took out. The rest of it crumbled away!


This is the new lintel in, however it's covered with masking tape to protect it from the expanding foam. Which incidentally is tricky to get off your forehead.

The afternoon I finished insulating around the beam and started to plasterboard the ceiling. Got about half of it done.


Next up – finish plasterboarding, attach board for radiator to wall to get a good fixing, prependuit the ceiling, then we can get on with doing the top coat. I’m hoping this can be achieved over the next couple of days/evenings

Current state of the room

We’re going to start redoing the outside this weekend too by doing the slurry coat on the front elevation on Saturday. This is a binding coat ready for redoing the top coat on Easter Monday.

Right, lunch time over now. Must get on.

Ben.